
Showing posts with label Home Made. Show all posts
Showing posts with label Home Made. Show all posts
Tuesday, January 3, 2017


Thursday, December 15, 2016
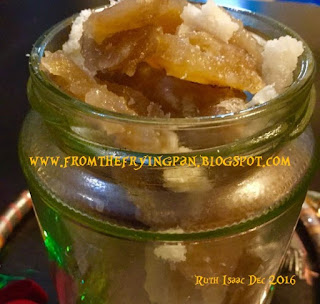
Ginger Two Ways Candied And Preserved

 |
| Ginger Two Ways - Candied and Preserved
The making of Ginger Preserve every year in August was a family ritual. That was the time tender ginger appeared in the market and my Mum would buy a couple of kgs from Russel Market, to last the whole year and to give as gifts to all her cronies. This is a recipe she got during her stay at Nazareth Convent, Mangalore and one we all loved. The whole family would sit around the table and skin and fork the tender ginger under my Mum's eagle eye. The process took a few days and after that we would all stand and gloat at the jars of Golden Ginger Preserve carefully arranged on the shelves in the store room, the key to which was always with her. Most of the bottles were given away and used in cakes and sometimes as a treat, we had a piece with thick, cream after dinner.
In Malaysia, tender ginger is available throughout the year, so I stock up during December and this year, I decided to make Candied Ginger as well which is an ideal tit bit after an appetizing lunch.
The Recipe:
Ginger Preserve
 12 cups water ( 250 ml x 6)
6 cups water (250 ml x 6)
Discard the fibrous parts of the ginger and scrape off the skin. Wash well. Fork both sides of the ginger pieces and place in water to cover. Change the water everyday for three consecutive days. On the third day, squeeze the ginger well, discarding the water and pressure cook the ginger in 12 cups ( 250 ml x 12) for 45 minutes. Cool and drain completely. Spread the ginger on a cutting board, place a clean kitchen towel over it and place a heavy weight on it over night for the water to drain. ( I used my cooker filled with water as a weight). Next day make a sugar syrup with 6 cups water and sugar. Add the egg (broken with the shell) and bring to the boil. (Boiling the egg with the syrup will make the syrup very clear). Lower heat and simmer for 15 minutes. Cool and strain through a muslin cloth, discarding the egg. Return the sugar syrup to the heat, add the ginger and boil till a honey like consistency is reached. Just before removing from the flame, add the juice of 1 lime. Stir well, boil for a minute and remove from heat. Cool overnight and bottle in sterilized glass jars or bottles. Label and store for as long as they last. Use in cakes, ice cream or serve with cream as a decadent indulgence.
NB: I used less sugar and the preserve was still good.
Candied Ginger
The Recipe:
500 gms tender ginger; 6 cups water; 500 gms brown sugar ( I prefer brown sugar as the ginger gets a glorious colour); juice of 1/2 lime
I used less sugar.
Scrape the skin off the ginger, discarding the fibrous parts. Wash and cut into equal sized pieces and then pressure cook in 6 cups water for 45 minutes until tender. Place in a collander to drain off the liquid, reserving 1/8 cup of the ginger water.
Next add the ginger, sugar and water in a heavy bottomed pan and bring to the boil on medium high heat, stirring frequently until the liquid has almost evaporated. Add the lime juice and boil till for a couple of minutes. As soon as the sugar begins to crystalize. This takes about 30 minutes. Transfer the ginger to a tray lined with baking paper and spread out to separate the pieces. Cool completely and store in an airtight container, using as desired. Keep the remaining sugar crystals for use in your tea or coffee or as a topping for ice cream.
    |
Wednesday, November 23, 2016


Tuesday, October 4, 2016
Lemon Grass Rice


Sunday, July 31, 2016
Pumpkin Moussaka

 |
| Pumpkin Moussaka |
The Recipe:
500 gms mince, washed and drained; 1 large onion, minced; 2 cloves garlic, minced fine; salt and pepper to taste; 2 tbsp olive oil
Pumpkin Puree: 2 cups orange pumpkin, boiled with 1/2 cup water till soft, cooled and pureed with 1 large clove of garlic and 1/2 inch ginger.
300 gms sliced brinjal- soak in salted water and drain. Grill at 225 C with olive oil and salt for 2 minutes each side. Keep warm till required.
White Sauce:
1/2 cup
chicken stock; 1/2 cup milk; salt & white pepper to taste; salt and pepper
to taste; 1 dsp flour; 1 small onion minced; 2 tbsp grated cheese.
Heat oil in non
stick pan. Fry the minced onions until
glazed and transparent. Add flour and
stir fry for a minute till crisp. Lower
flame and slowly pour in the chicken stock, stirring all the while to avoid
lumps. Next add the milk and keep
stirring until thick and creamy. Add the
cheese and gently mix. Season with
salt & white pepper. Keep warm till required.
Heat the olive oil in a large nonstick pan and stir fry the onions and garlic till glazed. Add the mince and cook till brown. Add the pumpkin puree and pepper and salt and cook on medium heat to desired consistency.
To Assemble:
Grease a large oven proof dish and pour 1/2 cup of the mince and pumpkin mixture into it. Place a layer of brinjal over the Pumpkin Mince Sauce and pour 1/2 cup white sauce over. Repeat layers ending with the Brinjal and finishing with White Sauce on top. Sprinkle with more grated cheese on top. Bake in a Pre heated oven at 225 C for 45 minutes until cheese is brown and bubbly. Take out of the oven and cover and keep for 15 minutes. Serve hot with garlic bread. I served it with my Multi Grain Garlic Bread which was a complete knock out..
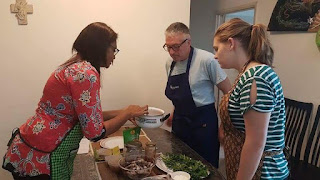
To Attend My Cooking Class Click Here


Friday, May 27, 2016
Sugarless Carrot Halva

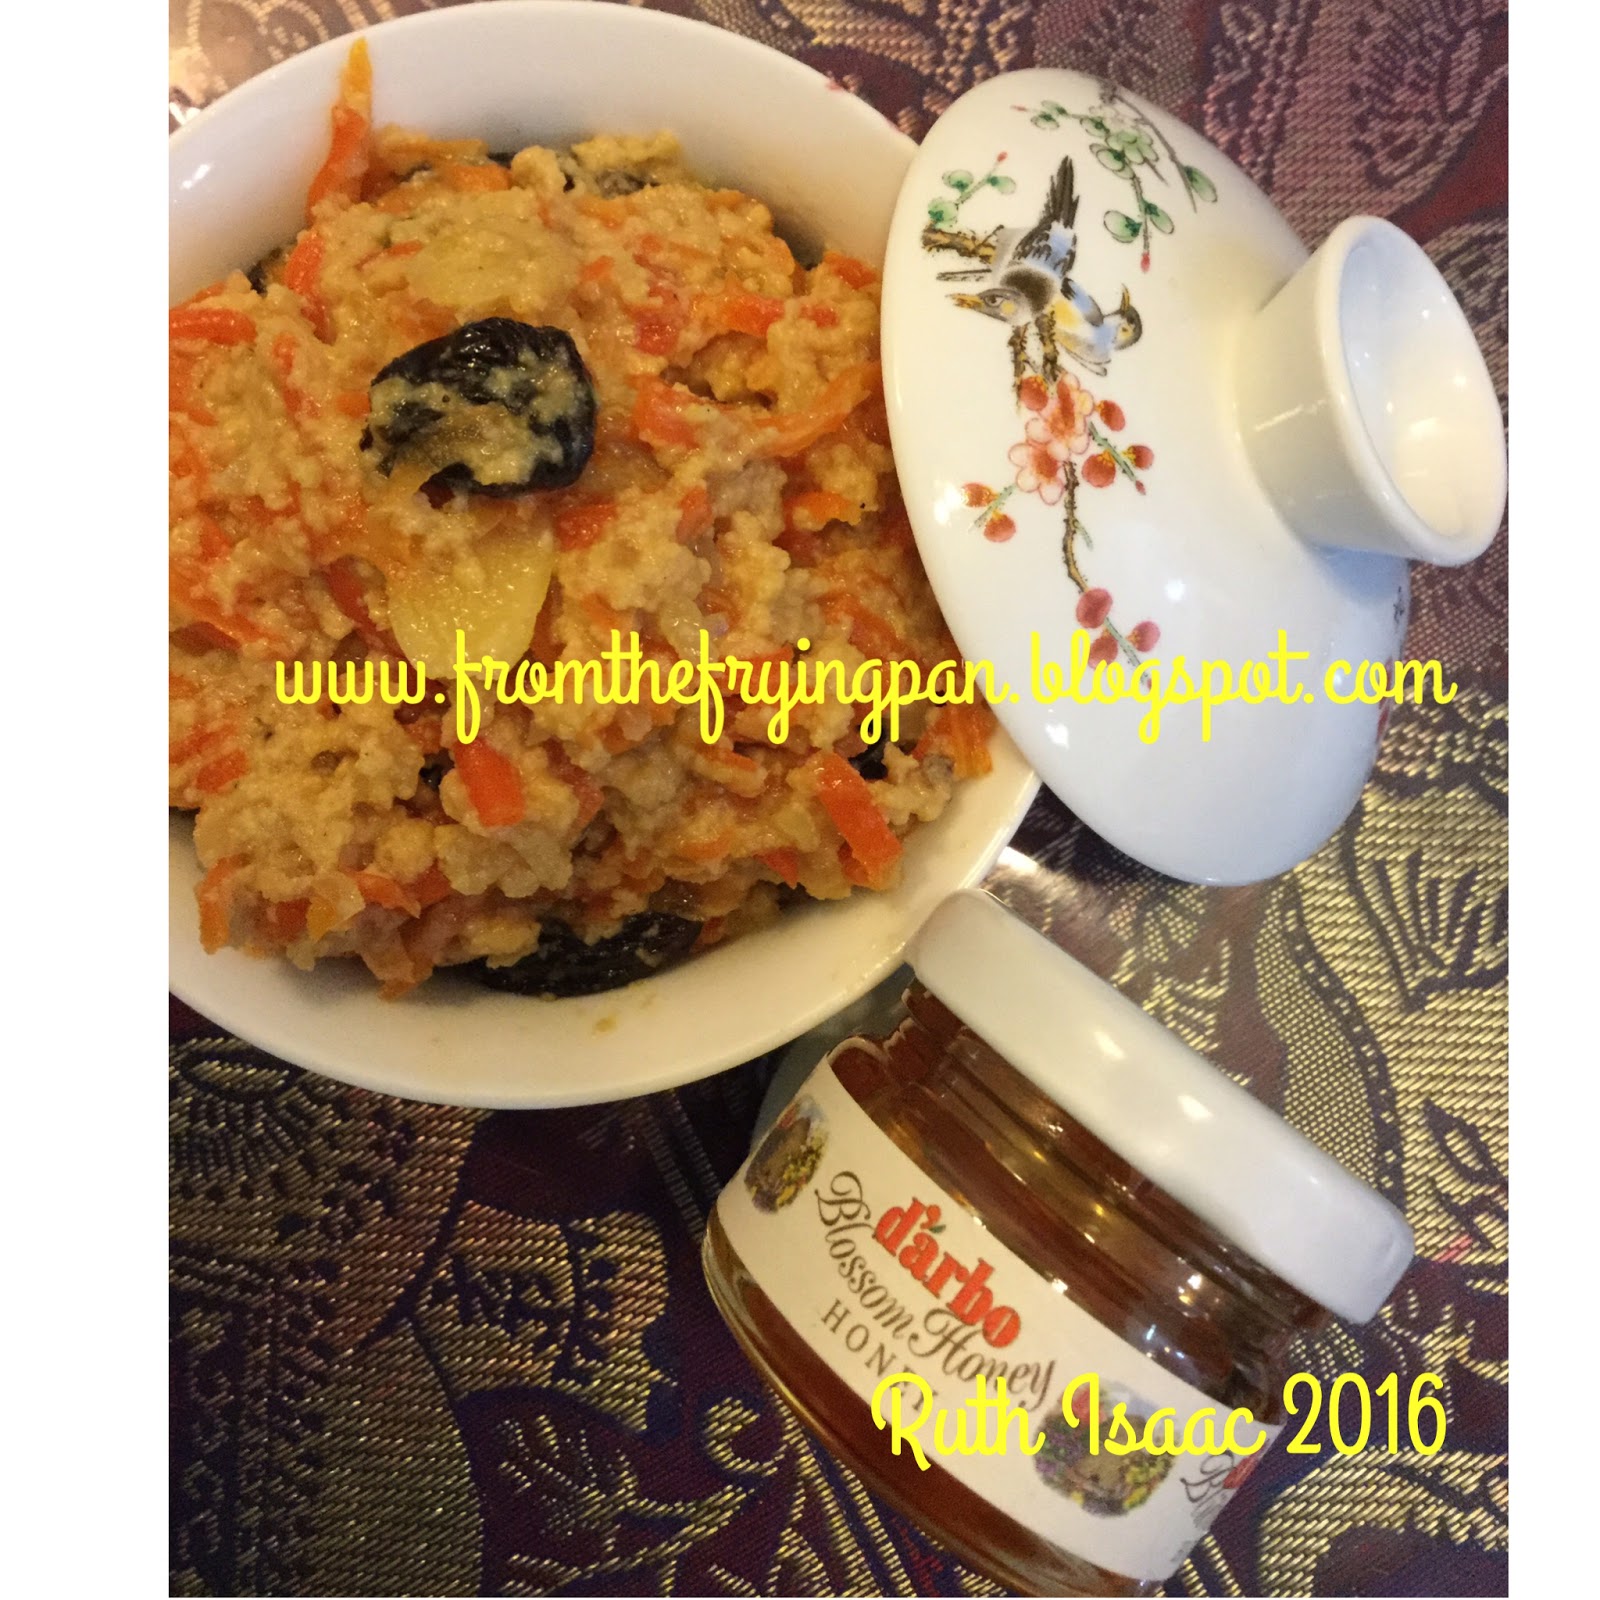
Sugarless Carrot Halva
Some time ago an elderly friend requested some recipes for sugarless Indian desserts and I sent a few from my collection. I like to try different recipes and so made this version and liked it very much. Nowadays, I leave out the sugar and use low fat milk and honey to make all my desserts. This version is as delicious as it looks. The sweetness of the carrots and raisins make this a suitable dessert for older people.
The Recipe:
1 cup grated carrots; 1 cup low fat milk; 1/4 cup raisins chopped; 1/4 cup almond flakes; honey to drizzle over.
Boil the carrots and milk till thick and mushy. Stir in the nuts and raisins. Simmer for two minutes. Remove from fire. Serve hot or cold drizzled with honey ( optional).
To Attend My Healthy Cooking Class Click Here


Wednesday, March 30, 2016
Creamy Cream Cheese Ice Cream

 |
| Home Made Ice Cream
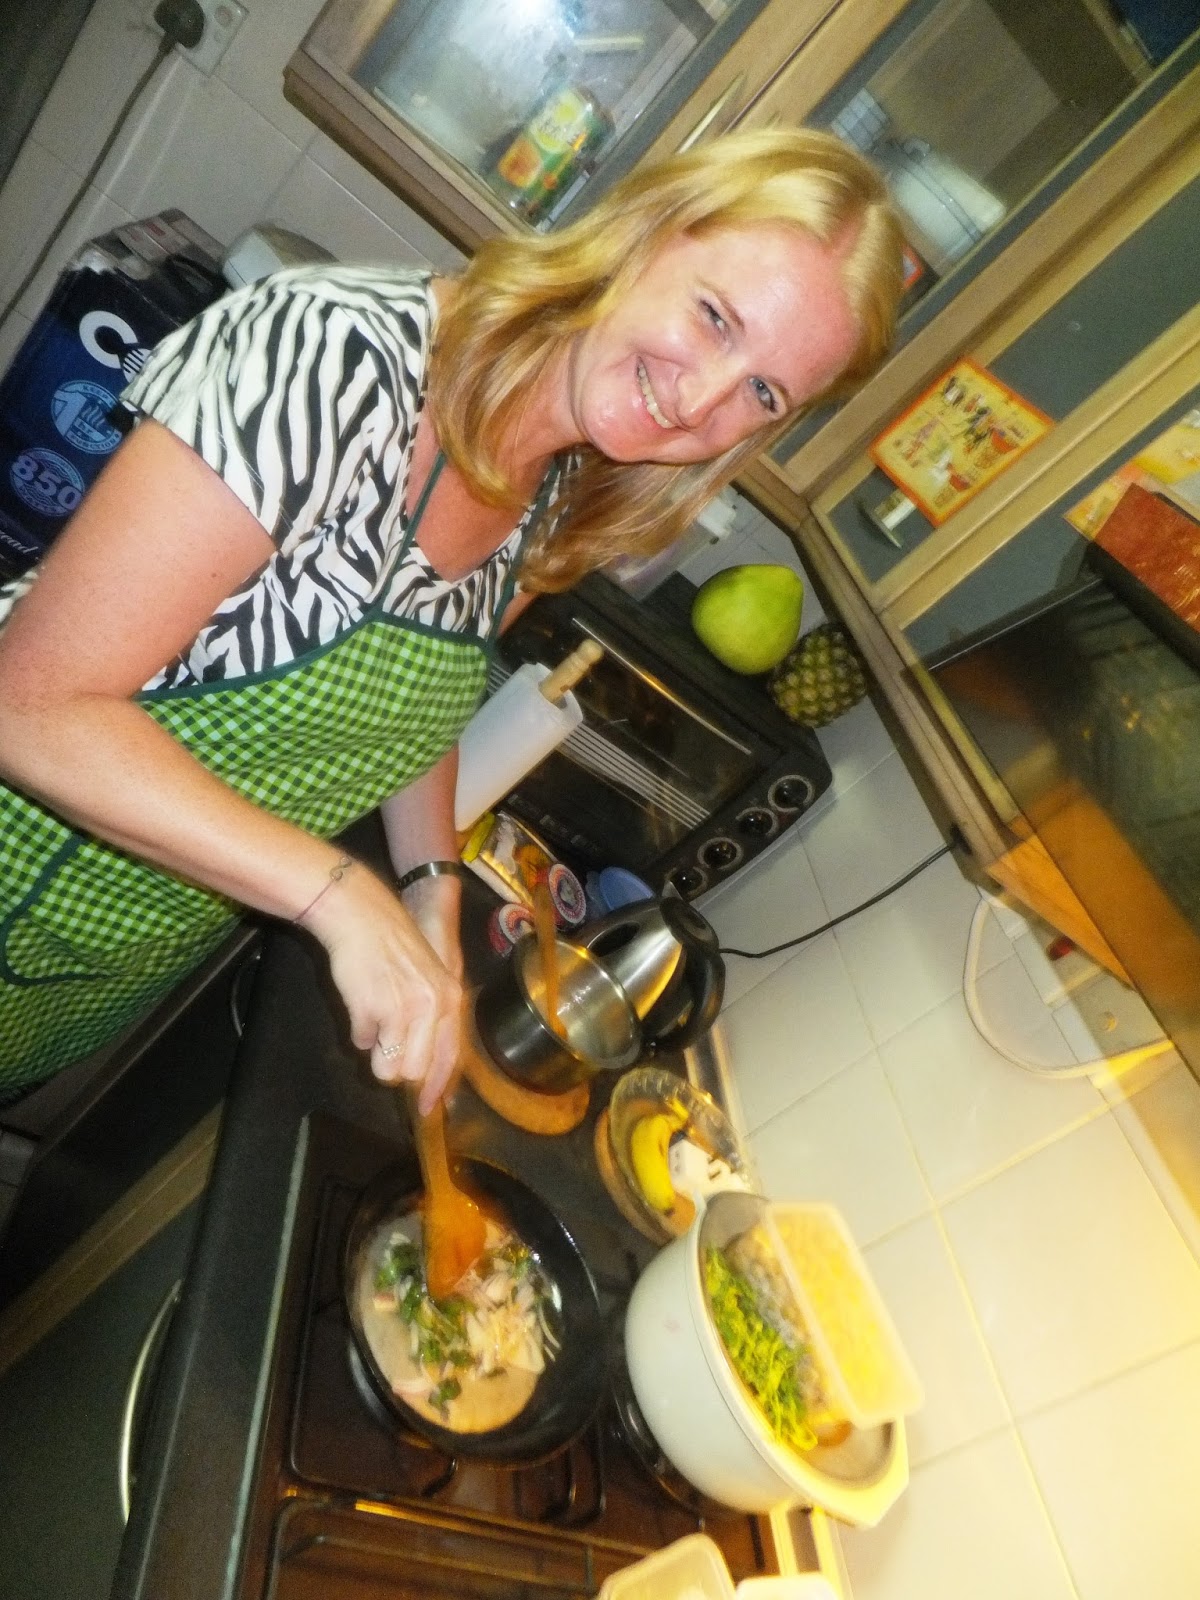
Ice Cream has always been a great favourite in our house and so has cream cheese, although I began using cream cheese only after we came to Malaysia. A friend of mine whom I met at a sugar craft class years ago was good enough to introduce me to a wholesale baking shop and I run riot whenever I go there. To cut a long story short, I always stock up on cream cheese whenever I go there and make this amazing Ice Cream with the left overs. It's a real treat to eat rich, Creamy Cream Cheese Ice Cream on a holiday after a good meal in minute proportions.
The Recipe: 1/2 cup cream cheese; 1/4 cu condensed milk; a few walnuts for garnish. Whisk condensed milk and cream cheese to a smooth consistency at room temperature. Transfer to air tight container. Scatter walnuts on top. Freeze overnight. Keep out for 5 minutes before serving. This is to soften the ice cream and give it a creamy texture. Serve in tiny plates or bowls and svour its richness after a delicious meal. |

Tuesday, March 29, 2016
Home Made Dulce de Leche

 |
| A Spanish Treat |
The Recipe:
1 can condensed milk.
Remove the paper from the can and put it on it's side in the pressure cooker. Cover it with water about 5 cms above the can. Close, place on gas stove and set on high heat. When the steam comes out forcefully place the weight on top and wait for the whistle or loud noise. Once this happens, lower to medium heat and cook for 40 minutes. Remove the cooker from the stove and bring to room temperature. Do not open. Mine took 3 hours to cool completely. Open the cooker and remove the can. Wipe dry and open. Sample liberally, if you please. Transfer to an airtight container and store in the refrigerator for up to 3 weeks. Ours lasted a week and the feeling of accomplishment lingers on. I am really proud to have made this myself.
To Attend My Healthy Food Workshop CLICK HERE

Friday, January 29, 2016
Spring Onion Bread

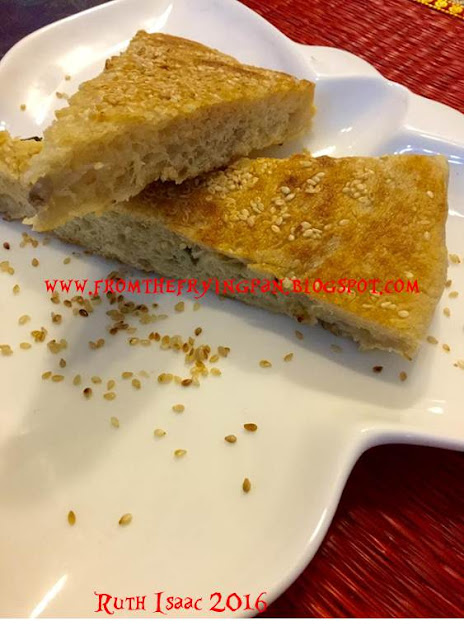 |
| Spring Onion Bread
While browsing the internet I came across many versions of this bread and I liked the way it looked. I was sure it would taste good and so many days later, since I happened to have a surplus of spring onions in my refrigerator I made this bread using my convection oven and the result was a bread that tasted like a crusty pizza. Super yum.
For original recipe go to
I made a few changes.
The Recipe:
2 1/2 cups bread flour; 1 tsp brown sugar; 1 tsp olive oil; 1 tsp sesame seed oil for oiling pan; 1 tsp salt; 1 cup warm water; 1 tsp instant yeast; 1 cup chopped spring onions; 4 tbsp white sesame seeds.
Place the flour, salt, sugar, water, oil and yeast in a large bowl. Using the dough hook of your mixer combine ingredients until the dough comes together ( I used medium speed 3). Lower speed to 2 and knead for 2 to 3 minutes until the dough is soft and elastic and one smooth bmass. Grease a glass bowl and place the dough in it. Cover with cling film and leave to rise for an hour until it doubles in size.
Roll out the dough into a rectangle on a floured surface. Spread the spring onions on it and roll it up and then coil it into a spiral. Gently roll out into a large round. Sprinkle both sides with sesame seeds and rest for about 30 minutes. Oil and heat a non stick pan and cook the bread for 1 minute each side. Transfer to an oiled pizza pan and bake in a preheated oven at 400F or 200 C for 10 minutes or until brown and crisp. Cool and slice.
This bread is so tasty, it can be eaten plain.
   |
Sunday, December 13, 2015
Raisin Walnut Bread

My journey with baking bread continues and my guinea pigs are very pleased with the results. Here is another recipe I made a while ago. It barely lasted for a sitting. So I made it again and yet again. I am sure, you will too.

To Attend My Christmas Dessert Workshop CLICK HERE


Subscribe to:
Posts (Atom)